I am super happy to show you my first project as a member of the Chibitronics DT. Yes! You read that right, I'm on the team! And I'm having way to much fun figuring out what to light up next. With LED-stickers. Not fire ;) Promise!
Take a look at the Chibitronics website to see the rest of the awesome team.
I had all kinds of ideas looking at this stamp set by Honey Bee Stamps, it has a super cute pickup that you can load up with different things in the back. I also had the beautiful Zen-flowers set and those flowers are just too much fun to color. I colored up a night scene combining the two sets and wanted to make the window of the truck light up.
This is how I made it happen.
I typically make the cardfront first to plan out where to put my elements. I try to come up with a plan before even starting so all the elements will have enough space and there is somewhere to put the battery and power switch. For this image I wanted the car window to light up. To make all of it light up and not just a spot I cut it all out and stamped it again on Vellum to make a kind of frosted window so you can see the light but not the LED-sticker itself. I also colored the back of the Vellum blue with an alcohol marker to tint it a bit. I attached the Vellum on the back of my card front using a glue pen.
There are different way to make a switch but for this I just wanted a switch where you press it and the window lights up. I also didn't want to make the whole card as thick as the battery so I used a diecut to make a circular hole big enough for the battery and some foam tape to keep it in place.
Then I drew out my circuit on a piece of white paper, cut to the same size as the cardfront. I marked out where the window and battery was placed and where to place the copper tape. I also marked out what is + and what is - so I would not turn the LED-sticker the wrong way. Pointy end is - ant the base of the triangle is + on the sticker. Even if you would happen to put it the wrong way you just would have to flip the battery upside down, so no big disaster, but I always draw it out this way.
This is what the switch and circuit looks like. I like to make a flap that folds over the battery and have the copper tape fold over it. And I build a little nest around the battery to keep it from falling out. The tape on the battery is just because I use an old battery that is out of power to measure the size of the battery holder and I've marked it so I don't mix it up with fresh batteries.
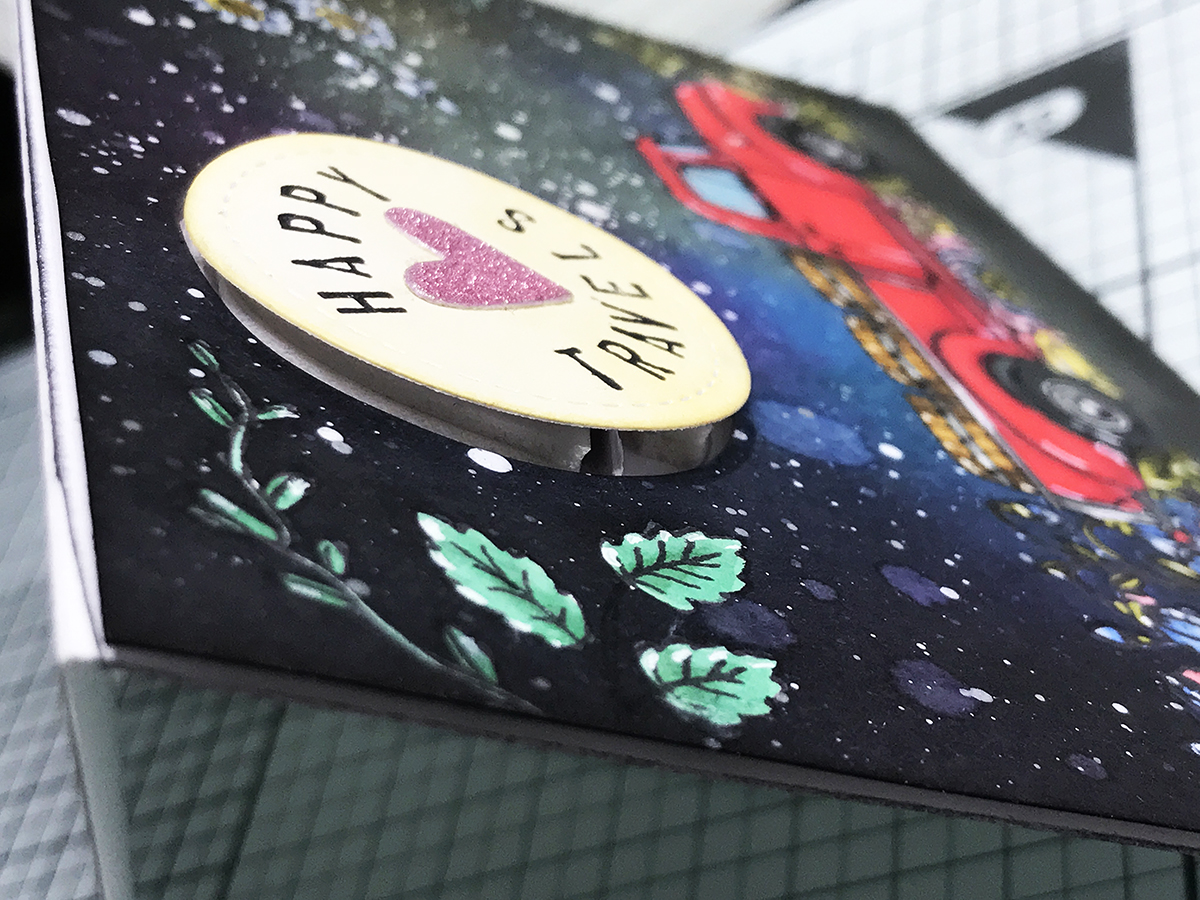
On top of the battery holder I attach a circle the same size as the hole in the card front and then on top of that I glue on the moon with the sentiment. Since they are the same size as the hole I made using the same die I can just make the switch pop up through the hole in the card front and glue the front to the circuit. I used a thin layer of foam for the cardfront and a double layer for the switch so the LED would not rest directly at the Vellum, a bit of a distance makes the light spread a bit better. When you press down on the switch the LED will light up.
If you look at the side of the card you will see the battery holder.
That's all there is to it. I hope you got inspired to make your own light up cards and projects. Have fun!
Related articles


1 comment :
Based on the basic recreation of Five Card Stud, Let It Ride enables you to control two of three bets made on the game. Players place three equal bets on the 카지노사이트 desk, then receive three cards, with two group cards being dealt as the game progresses. Instead of playing in} towards the supplier or different players, you simply attempt to get a great poker hand by using your three cards and the 2 group cards. Redefine desk gaming and maximize floor house with electronic tables games. Give players an thrilling reside stadium setting or the intimate experience of a personalized terminal, with near limitless configurations. Electronic desk games offer final word|the last word} in flexibility to suit any floor dimension and participant want.
Post a Comment